Do you love dessert?
I’ve always had a huge sweet tooth. I still remember that when I was little, I used to eat huge amounts of the foods I loved. They were too good and I was too greedy. Once, I ate too much coleslaw and I was sick for two days. However, after that episode, I couldn’t even look at coleslaw. It took me a few months to have the courage to eat that salad again.
But the story is different when it comes to sweets. It doesn’t matter how much dessert I eat or how sick I feel afterward. After two days, I’m ready to be in a dessert coma again. That’s how much I love these sweet treats.
Unfortunately, I know that people who have been diagnosed with diabetes can’t go wild with sugar, and they need to respect some strict rules when it comes to food and lifestyle in general.
But this doesn’t mean that you can’t indulge in a delicious, creamy, and sweet dessert every once in a while. So, if you have diabetes or want to be more mindful of your sugar intake, this article is for you! I’ve come across a few amazing recipes that are mouth-watering! Here they are:

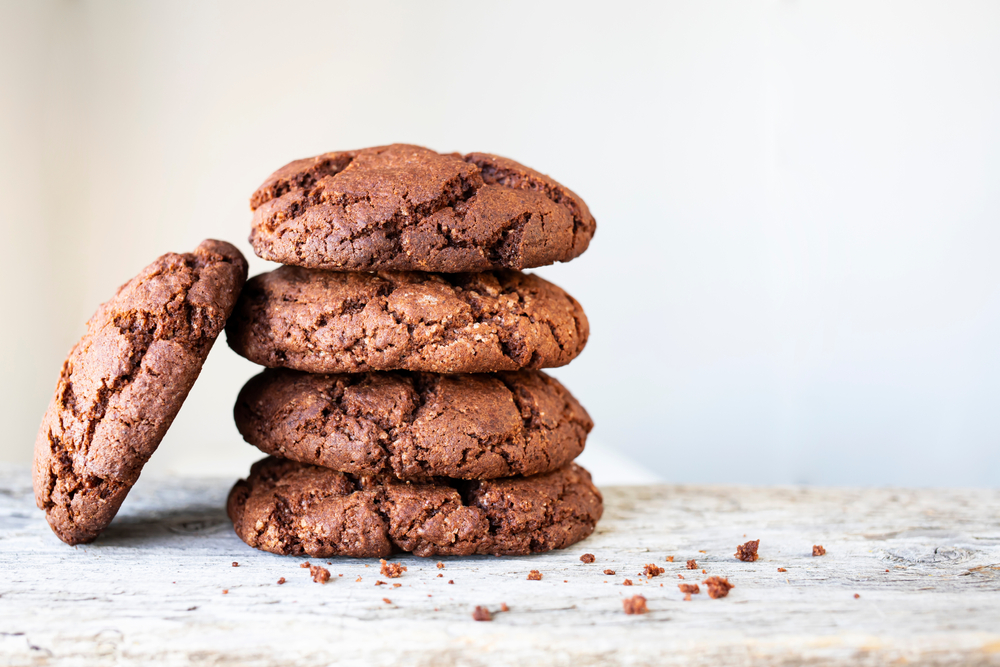
1. Flourless Chocolate Cookies
Who doesn’t love chocolate cookies? They are one of the best things in the world and one of the most popular sweet treats in our beautiful country! It’s safe to say that they can actually be considered an American staple, isn’t that right?
But for all those people who can’t go wild with their confections, this flowerless chocolate cookie recipe is the cherry on top. Even though these biscuits don’t contain any flour, they get their volume from the whipped egg whites instead of grains, just like a meringue.
Ingredients:
- ¼ cup unsweetened cocoa powder;
- 2 large egg whites or 3 medium ones;
- ½ cup bittersweet chocolate chips or chunks, chopped;
- 1 cup confectioners’ sugar (you can also use stevia instead);
- 1 teaspoon vanilla extract;
- ⅛ teaspoon salt, just to help the other ingredients release their aromas.
How to:
- Preheat the oven to 350° F. Line 2 big baking sheets with parchment paper and coat them with some cooking spray.
- In a medium bowl, mix cocoa powder, confectioners’ sugar, and salt all together. After that, get an electric mixer and beat the egg whites until they turn into soft peaks. Add the vanilla extract and use a rubber spatula to add the cocoa powder mixture to the batter. Combine with chocolate chips (or chunks).
- With the help of a tablespoon, drop the batter onto the prepared baking sheets and make sure that there are approximately 2 inches between each cookie. Bake the sheets separately for 12 to 15 minutes, or until the tops of the cookies are just starting to crack. Allow them to cool down before you move them to a plate or container.
PS: If you want to save some cookies for later, you can place them in an airtight glass container and they’ll be fresh and moist for 3 days.

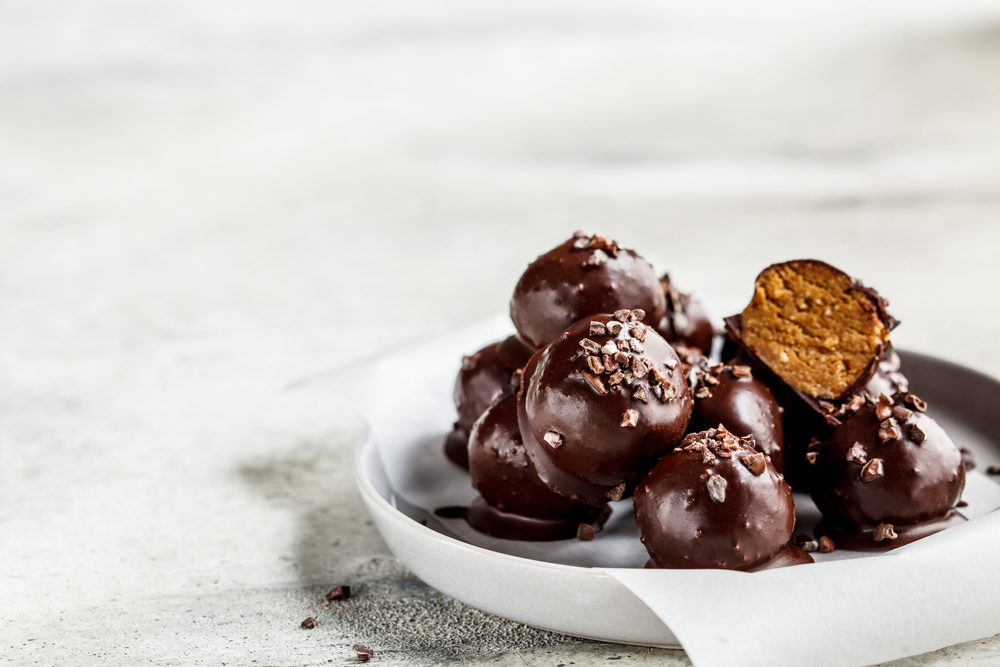
2. Crispy Peanut Butter Balls
If you love peanut butter and chocolate but you want a healthier and less-sugary alternative to the beloved Reese’s cups, this one is for you! The recipe I’m about to share with you is all about crispy peanut butter balls that are healthy, sweet, satisfying, and absolutely divine!
All you need are 4 ingredients (there’s a slight possibility that you already have them in your pantry) and I guarantee you that everyone in your family will love them! If you’re not a big fan of peanut butter, you can swap it for almond or cashew butter, or even sunflower seed butter. It’s your recipe, and you can customize it exactly how you want!
Ingredients:
- ½ cup dark chocolate chips, melted;
- ½ cup natural peanut butter, or any other nut butter of choice;
- 1 tsp of pure honey or maple syrup;
- ¾ cup crispy rice cereal.
How to:
- Get a baking sheet and line it with wax or parchment paper, depending on what you have in your kitchen. In a medium bowl, combine your nut butter with rice cereal and maple syrup or honey. With the help of 2 teaspoons or an ice cream scoop, roll your dough into tiny balls, and then put them on the baking sheet you prepared during the first step. Place your balls in the freezer until they get firm, or for approximately 15 to 20 minutes.
- Roll your balls in melted chocolate, then put them in the freezer again to set the chocolate. In order for them to be tasty, cold, and crunchy, you should store them in the refrigerator.
3. Strawberry-Chocolate Greek Yogurt Bark
If chocolate bark is one of your favorite sweet treats, then you’ll surely enjoy this healthier Greek yogurt alternative. It’s creamy, refreshing, tasty, full of flavors, and also rich in protein and vitamins! Who said that desserts can’t be healthy and good for your body? Speaking of that, you need to make this incredible sweet treat ASAP, because it’s too good to miss out!
Ingredients:
- 3 cups of full-fat Greek yogurt;
- ¼ cup mini chocolate chips;
- ¼ cup pure maple syrup or honey;
- 1 ½ cups sliced strawberries (you can also use other fruit, such as raspberries, blueberries, bananas, whatever you like the most);
- 1 teaspoon vanilla extract.
How to:
- Grab a rimmed baking sheet and be sure to line it with parchment paper.
- Grab a medium bowl and combine the Greek yogurt, maple syrup or honey, and vanilla extract. Spread the mixture on your tray, then add your fruit and chocolate chips.
- Put the baking sheet in the freezer for at least a couple of hours. Before serving, allow your bark to sit at room temperature for 15 minutes. You can cut it into any shape you wish, or you can simply break it for a mosaic effect. You can store your pieces in an airtight container and leave them in the freezer or refrigerator for a couple of days.

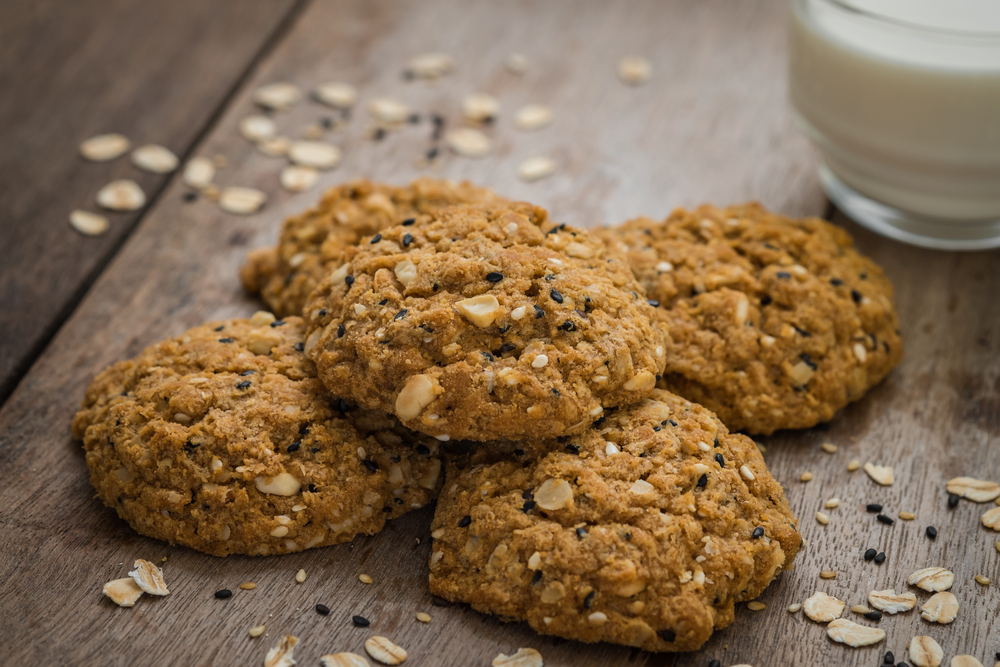
4. Oatmeal cookies
…Did you know that oatmeal and a few other ingredients can make one of the best desserts you’ve ever tasted?
Do you crave something soft, tasty, chewy, that contains zero grams of added sugar? You can make these delicious oatmeal cookies in just a couple of minutes, and they will get their sweet flavor from all those healthy ingredients you put in. You can easily make this dessert vegan and gluten-free, and it will be even more delicious than those you typically find at the grocery store!
Ingredients:
- ¾ cup almond flour or almond meal;
- 1 cup of oats (if you are diagnosed with celiac disease or you have a gluten intolerance, it’s better to use oats that are labeled as gluten-free. Usually, they contain wheat and barley, so you better be sure they don’t contain any of these);
- ¼ teaspoon salt;
- ¾ teaspoon ground cinnamon;
- ½ cup of almond or peanut butter (or any other nut butter you like);
- 2 medium ripe bananas, mashed;
- ¾ cup chopped dates or raisins.
How to:
- Preheat your oven to 350° F. Get a large baking sheet and line it with a silicone baking mat or with parchment paper.
- Get a medium size bowl and combine the oats, salt, cinnamon, and almond flour (or almond meal) together. Now get a bigger bowl and combine vanilla, nut butter, and bananas and mash until you obtain a smooth consistency. Get a wooden spoon and mix together the dry ingredients and raisins (or dates) with the dough you’ve previously obtained. Now scoop your batter, create small balls and place them on the baking sheet. To make them flatter, all you have to do is gently press them with a fork.
- Bake them for approximately 15 minutes, or until they’re firm to the touch and golden-brown at the bottom. Allow them to cool down for a couple of minutes before you transfer them into an airtight container.
You can store these cookies at room temperature for 3 days, or you can place them in the refrigerator. Do you crave dessert for breakfast? Eat 2 or 3 cookies in the morning with a glass of milk, and you’ll have a healthy and sweet breakfast that will give you a ton of energy and that will also keep you full until lunchtime.
5. Fresh Apple Squares
I don’t know about you, but for me, nothing screams fall and chill weather more than apples and cinnamon! I can happily live without a pumpkin spice latte as long as I have a healthy, sweet, crunchy, and soft dessert in my hand! If you’re just like me, you will love this recipe!
Ingredients:
- 1 cup of old-fashioned oats;
- 1 ½ cups of almond flour;
- 1 cup packed light brown sugar (you can use stevia or confectioners’ sugar instead);
- ¾ teaspoon baking powder;
- 1 teaspoon grated lemon zest;
- ½ teaspoon ground cinnamon;
- ½ teaspoon salt;
- ¼ teaspoon ground nutmeg;
- ¼ cup apple juice concentrate, thawed;
- 3 tablespoons of canola oil;
- 2 medium tart apples, such as Granny Smith or Golden, peeled and thinly sliced;
- ¼ cup coarsely chopped walnuts.
How to:
- Preheat the oven to 350° F. Grab a square baking pan and spray it with cooking oil.
- In a large bowl, combine your almond flour, brown sugar, baking powder, salt, lemon zest, nutmeg, and cinnamon together. Slowly add apple juice and oil until you notice that coarse crumbs have started to form.
- Press 2 cups of your oat mixture into the baking pan. For crunchiness, carefully place your apples over the crust in three rows. Now that you still have some oat mixture left, combine it with the walnuts. After that, sprinkle the walnut mixture over the apples and arrange them into an equal layer.
- Put the pan into the oven and bake it until the apples turn tender and the top of your pie is golden. That should take you roughly 30 to 35 minutes, depending on your oven. Let it cool down for a couple of minutes before you serve it.
Psst: This dessert is even better with a warm cup of tea or with a scoop of sugar-free vanilla ice cream! Try it, it’s one of my favorite sweet treats! If you do decide to make one of these recipes, be sure to leave a comment down below and tell me if you like it or not!
…And if you need more inspiration when it comes to cooking, I have all the info you need! From gluten-free dinner ideas to vegetarian meals you can make in a snap, you can find everything you need on our website! Until next time, you might want to check out this article for the most delicious and amazing recipe ideas: 7 Healthy No-Prep Recipes for the Days When You Just Can’t!


